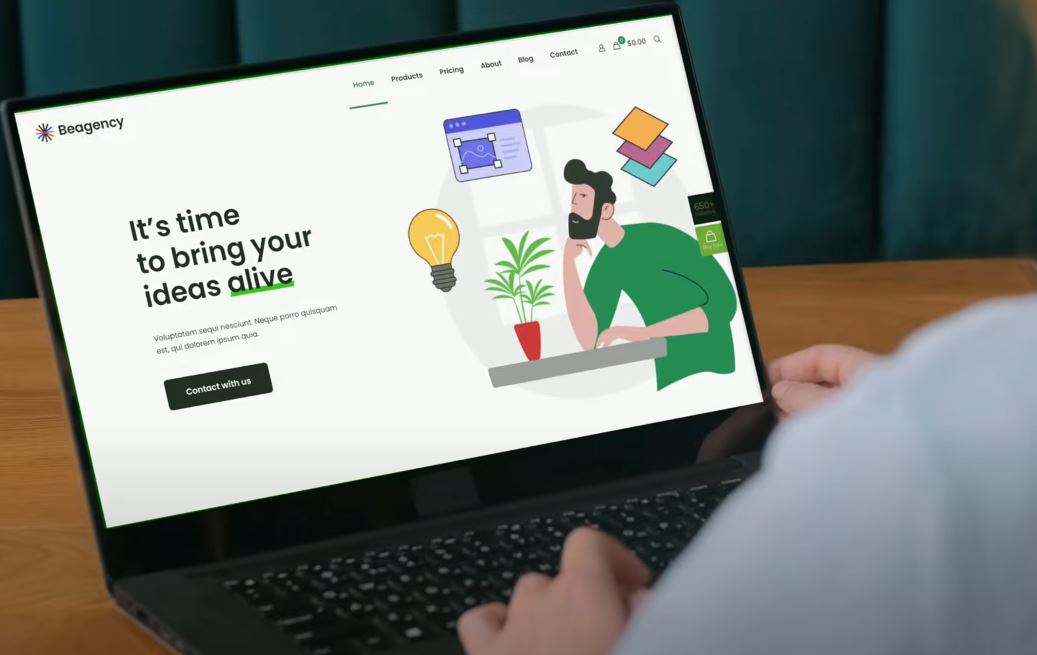
Welcome to your ultimate guide on creating a WordPress blog from scratch. By the end of this guide, you'll go from having no idea how to make a website to owning a beautifully customized blog that looks like any of these examples: Example 1, Example 2, Example 3. Whether you're planning on making money from your blog or pursuing a personal passion project, these steps will guide you all the way to the finish line.
Step 1: Setting Up Your Domain and Hosting
To get started, you'll need a domain name and an affordable hosting plan. Here’s how to do it:
-
Visit the Hosting Provider: Go to WestMCD.com Hosting.
-
Choose a Plan: Look for the best deal (e.g., $1.99/month). This deal usually includes a free domain for the first year and a security certificate.
-
Select a Plan: For 99% of users, the basic plan is sufficient unless you're planning to run an eCommerce site.
-
Domain Name: If you already have a domain, type it in. Otherwise, create a new one. Stick with a
.comextension if possible. -
Fill in Your Information: Enter your details and choose a 12-month service term for the best deal.
-
Uncheck Extras: Deselect any unnecessary extras to keep costs down.
-
Complete Purchase: Fill in your payment information and submit.
Step 2: Installing WordPress
Once the purchase goes through, WordPress will be automatically installed. You'll land on the WordPress dashboard. Here’s how to proceed:
-
Exit Setup: Click on 'Exit to WordPress'.
-
Explore the Dashboard: Familiarize yourself with the dashboard panel where you'll find options like Posts, Media, and Pages.
Step 3: Choosing and Installing a Theme
A theme determines the visual appearance of your blog. Here’s how to choose and install the best free theme:
-
Navigate to Themes: Go to
Appearance > Themesand click on 'Add New Theme'. -
Search for Bloxy: This theme has all the bells and whistles you need.
-
Install and Activate: Click 'Install', then 'Activate'.
Installing Bloxy Companion
-
Install Companion: This adds more components you'll need.
-
Starter Sites: Go to
Starter Sitesand import the 'News' starter site. Follow the prompts to complete the installation.
Step 4: Customizing Your Blog
Now, let's customize your blog to make it look exactly how you want:
Customizing the Header
-
Go to Customizer: Click on 'Customize' in the dashboard.
-
Edit the Header: Navigate to
Header. You can change the logo, menu arrangement, and social icons.
Customizing the Footer
-
Navigate to Footer: Go to
Footerin the Customizer. -
Edit Footer Elements: Remove unnecessary elements and adjust the design.
Setting Global Colors and Typography
-
Colors: Go to
Colorsand choose or customize a color palette. -
Typography: Go to
Typographyand select fonts for your text.
Step 5: Creating Blog Posts
With the design in place, it’s time to add content:
-
Go to Posts: Navigate to
Posts > Add New. -
Add Title and Content: Enter a title and start writing your post.
-
Using Blocks: Use content blocks to add images, headings, lists, etc.
-
Set Featured Image: Under
Post > Featured Image, upload an image that represents your post.
Generating Content with AI
You can use AI to create images and content for your blog posts:
-
AI Image Generation: Use tools like IdioGram or ChatGPT to generate images.
-
Generating Text: Use ChatGPT to create SEO-optimized articles.
Step 6: Managing Your Menu
To make your blog easy to navigate:
-
Go to Menus: Navigate to
Appearance > Menus. -
Edit Menu Items: Add important categories or pages to the menu.
Step 7: Checking Mobile Responsiveness
Ensure your blog looks good on mobile devices:
-
Mobile Preview: In the Customizer, switch to mobile view and make adjustments as needed.
Step 8: Final Touches
Before you go live:
-
Clean Up Plugins: Deactivate and delete unnecessary plugins.
-
Delete Sample Posts: Remove any default posts that came with your theme.
Congratulations! You've successfully created and customized your WordPress blog. Now, focus on creating engaging content to attract and retain readers.

